Precision Marketing for Mortgage - User Experience
Step | Instruction | Details |
|---|---|---|
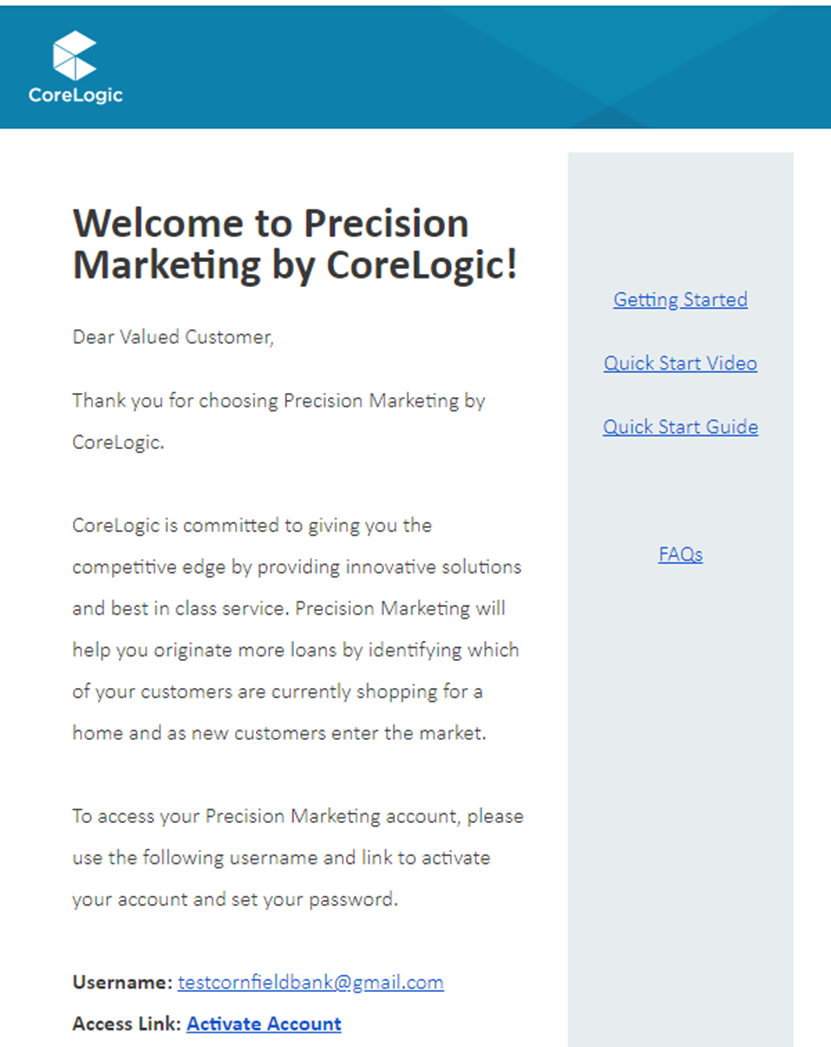
1 | Activate Your Account | Once you receive your email, activate your account. Click on the links to see how to get started, then log on to the Discovery Platform. |
 | ||
2 | Go to the Marketplace | Once you are signed in, head to the Marketplace and scroll down to find the Home Shopper - Precision Marketing use case tile. |
 | ||
2 | Select Home Shopper - Precision Marketing | “Learn more” will take you to the product page, with further details about the use case. |
 | ||
3 | Format Your Portfolio |
|
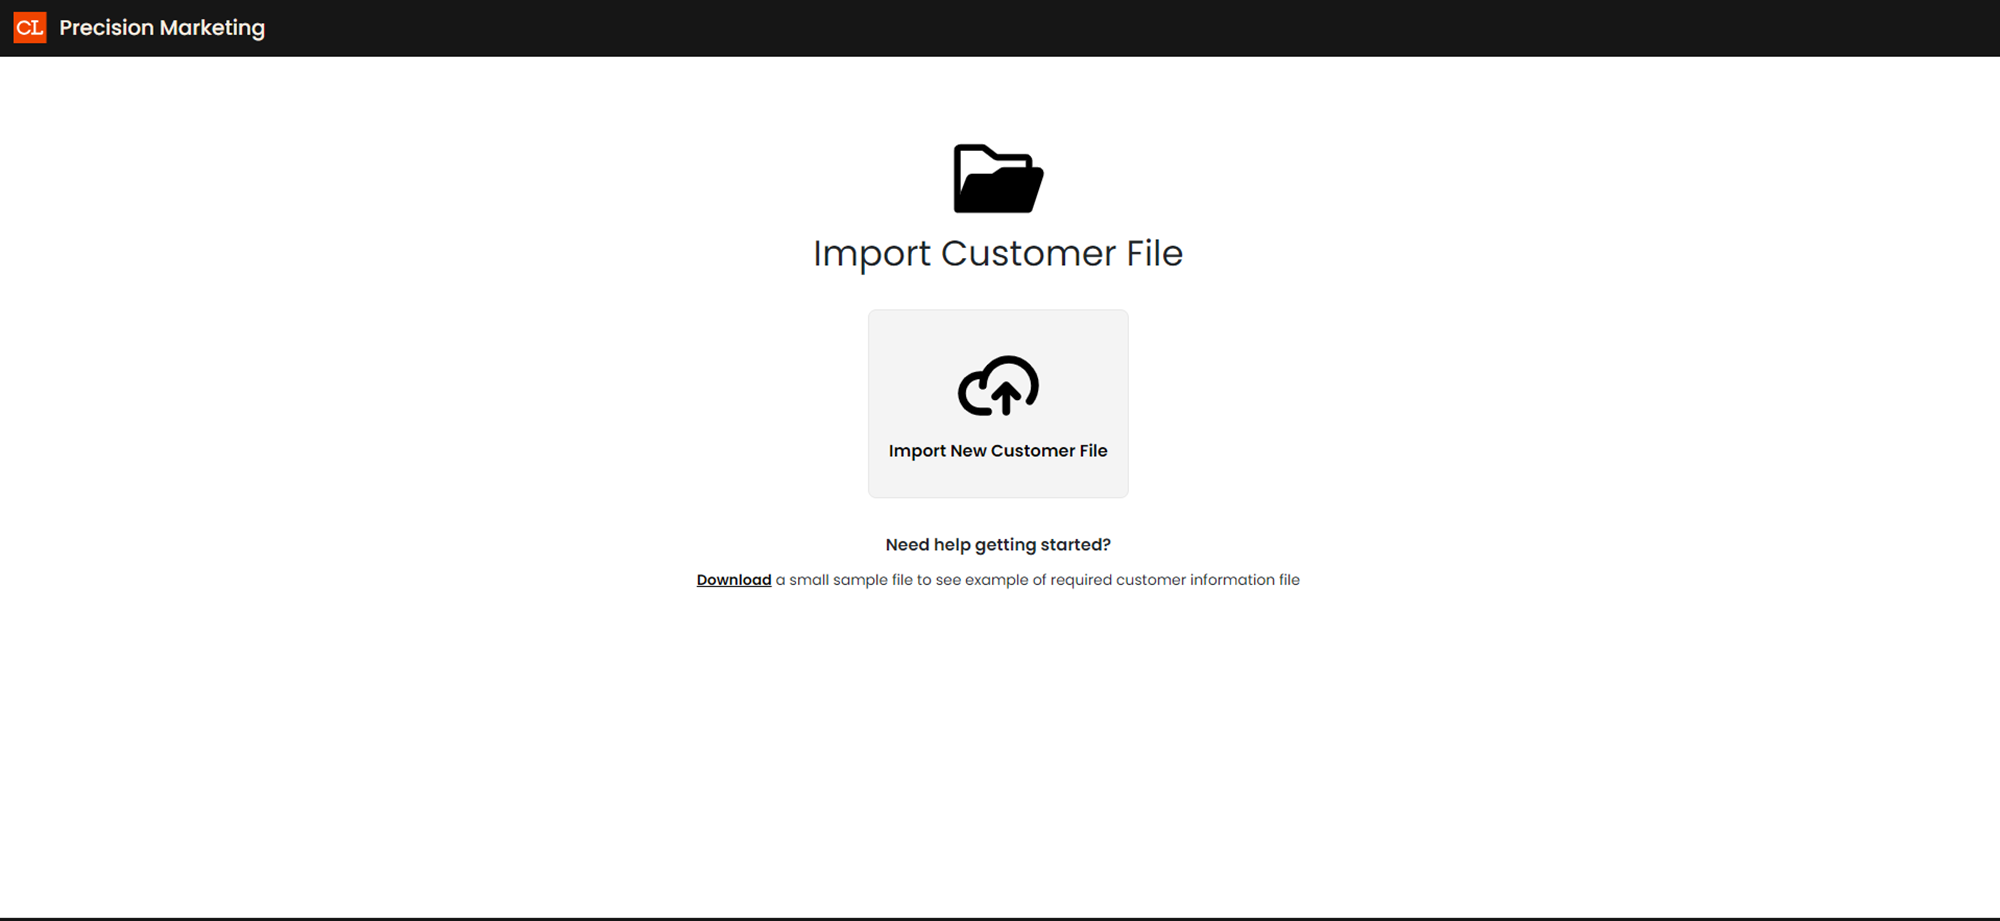 | ||
4 | Name and Import Your Portfolio | Name your Portfolio and then import your file. |
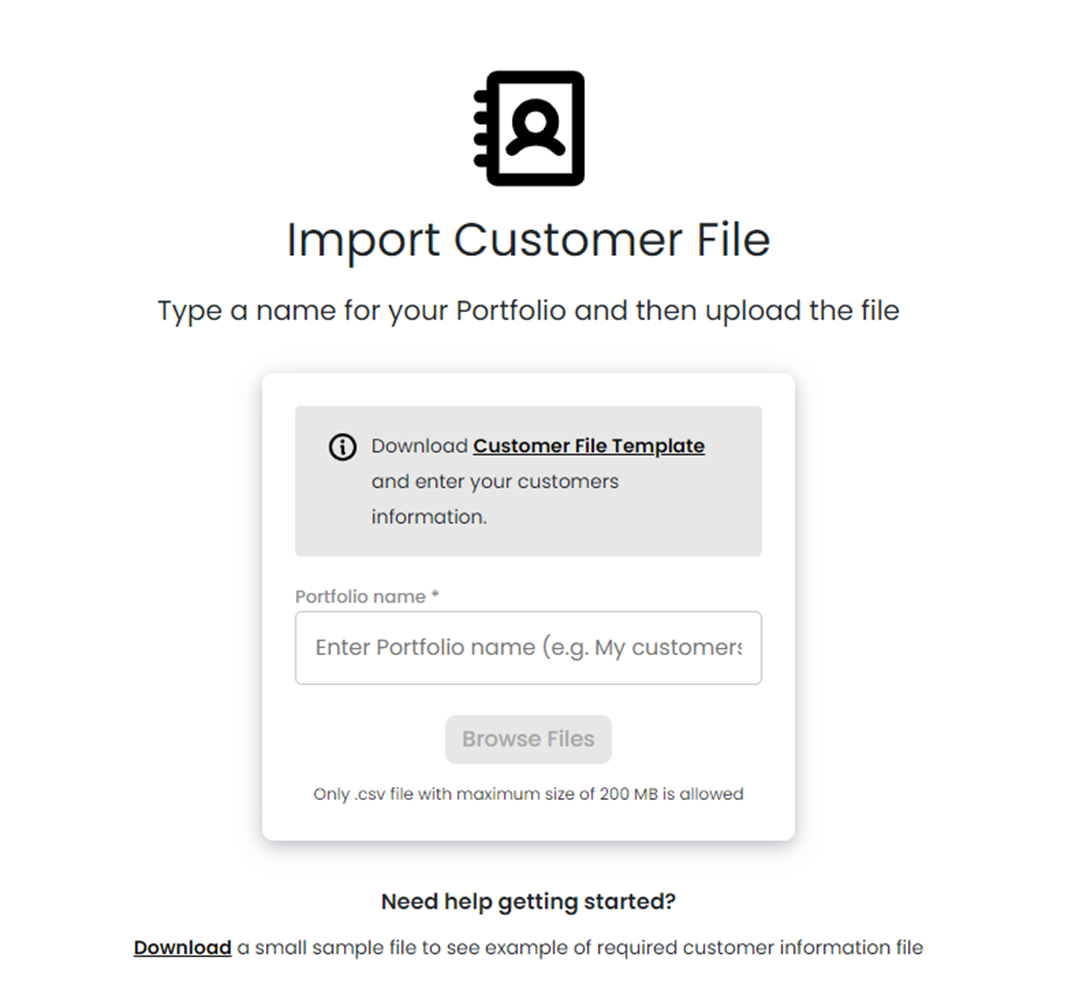 | ||
5 | Adjust Your Filters | Precision Marketing checks the file and confirms that it is formatted correctly. |
 | ||
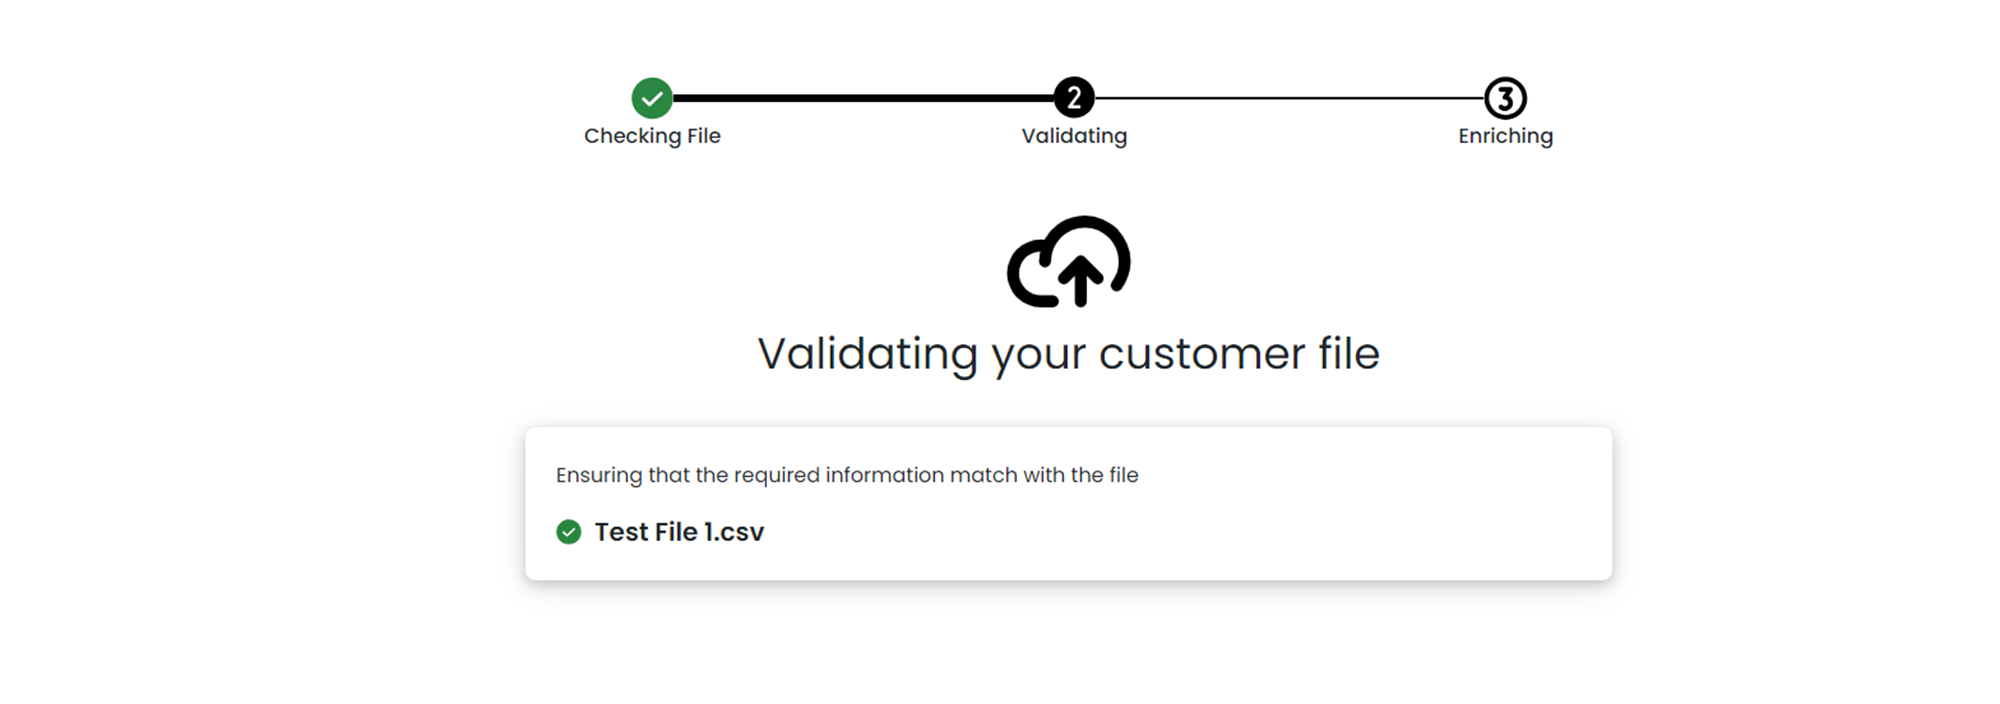
6 | Validate your File | Precision Marketing confirms the customer addresses are accurate and validates the file. |
 | ||
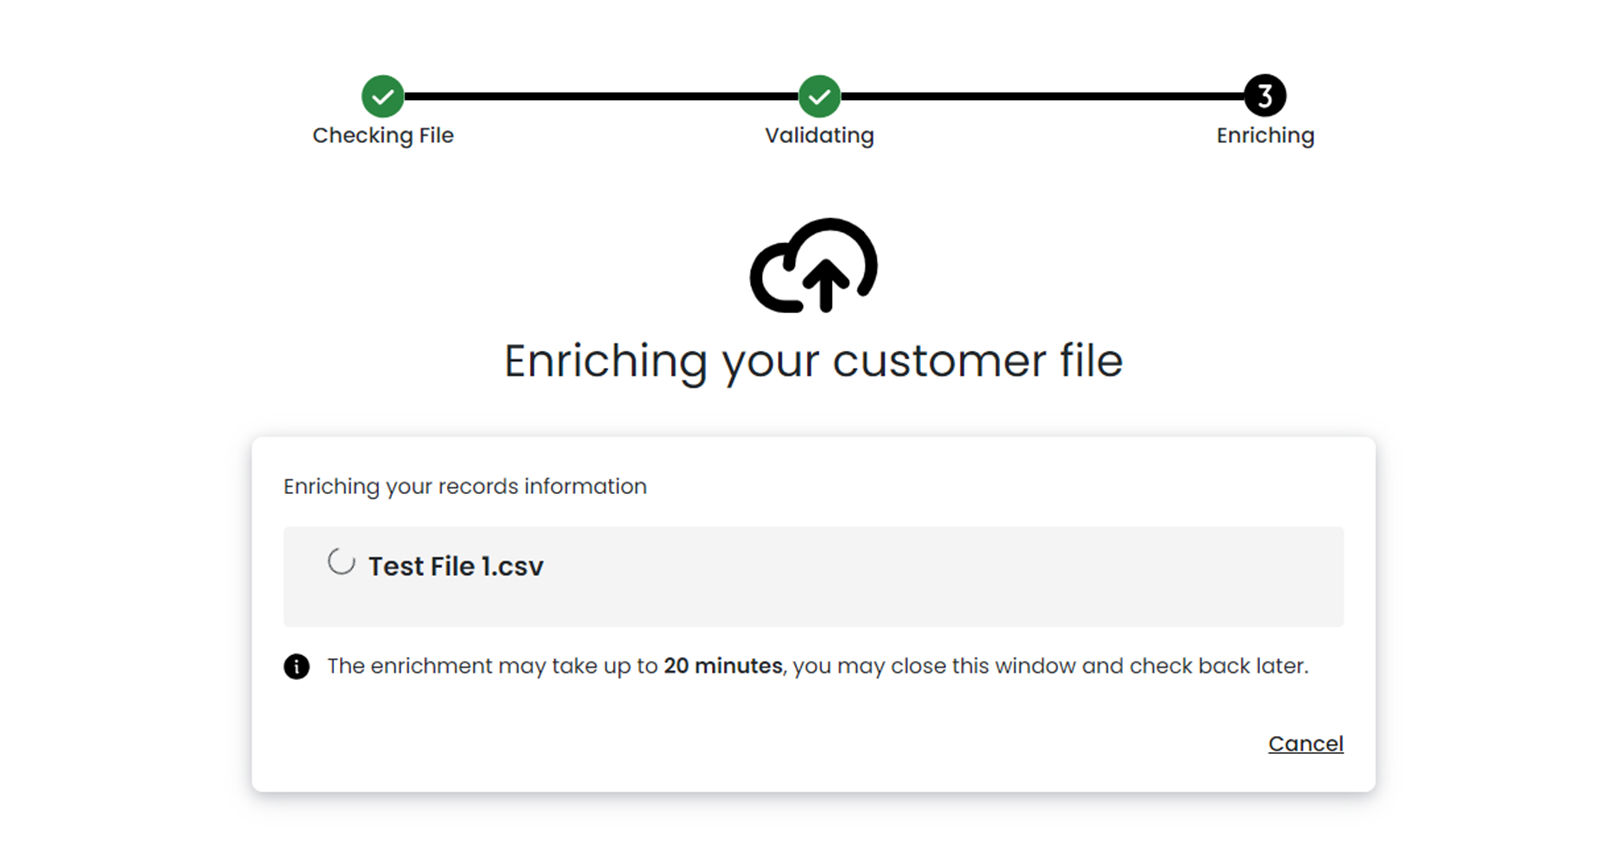
7 | Enriching your File | Precision Marketing enriches the import file with analytic insights and active home shopper activity. |
 | ||
8 | In-Market Shoppers |
|
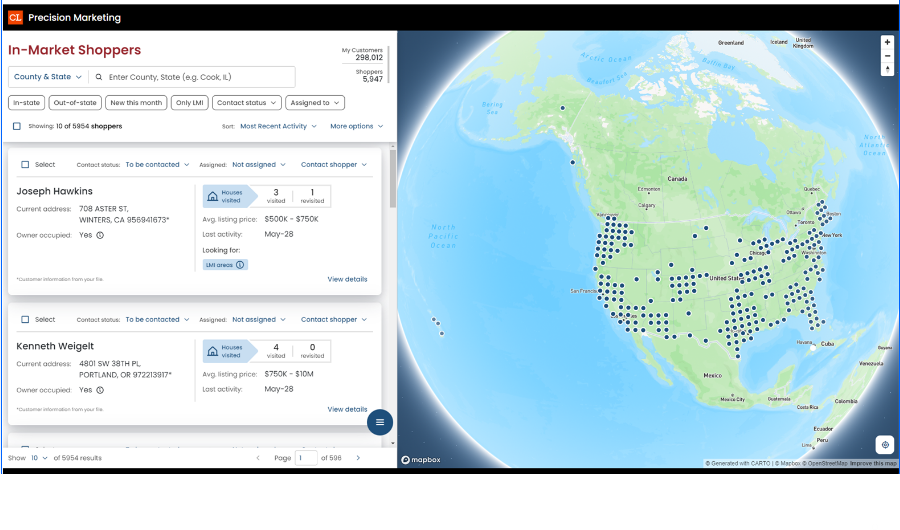 | ||
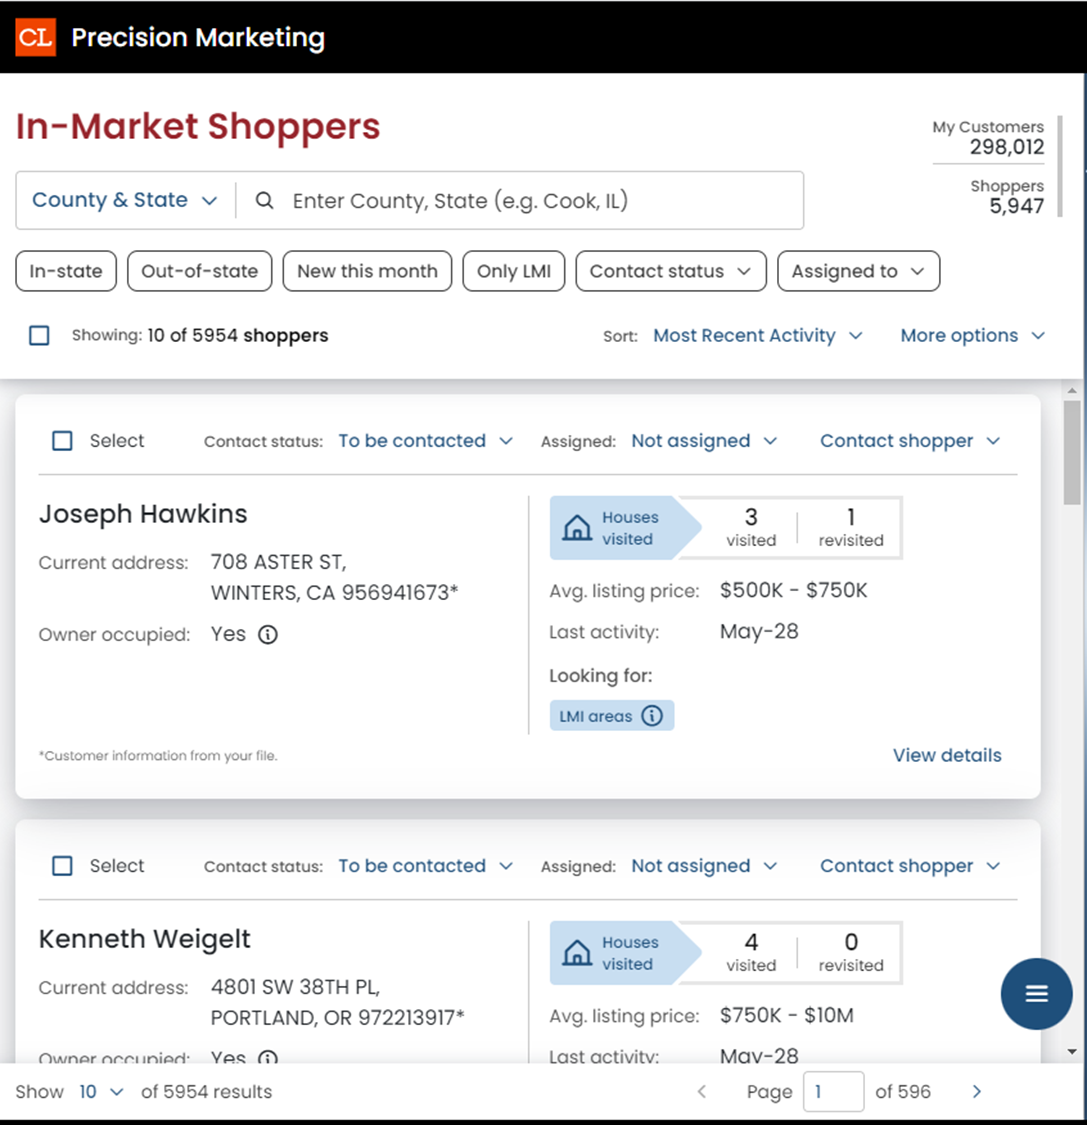
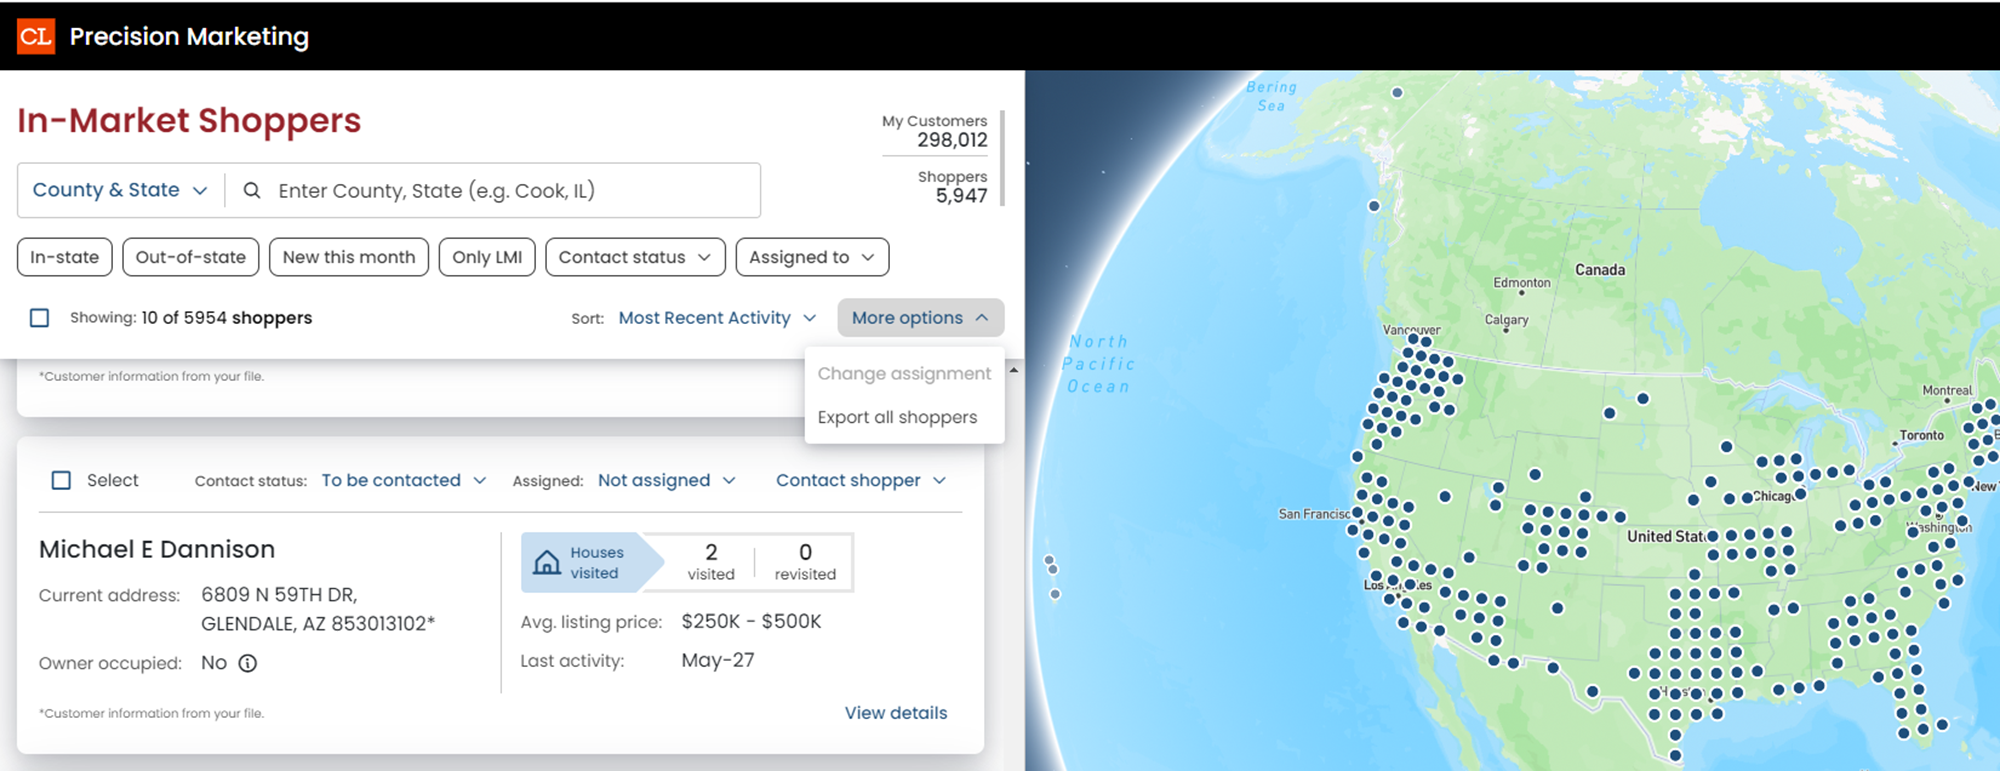
9 | Filtering your data | Filter results by using the search tools at the top of the In-Market Shoppers section. You can filter by geography, home shopping activity, contact status, or assignment. (Managers can use this to assign contacts to their employees to follow up on leads.) |
 | ||
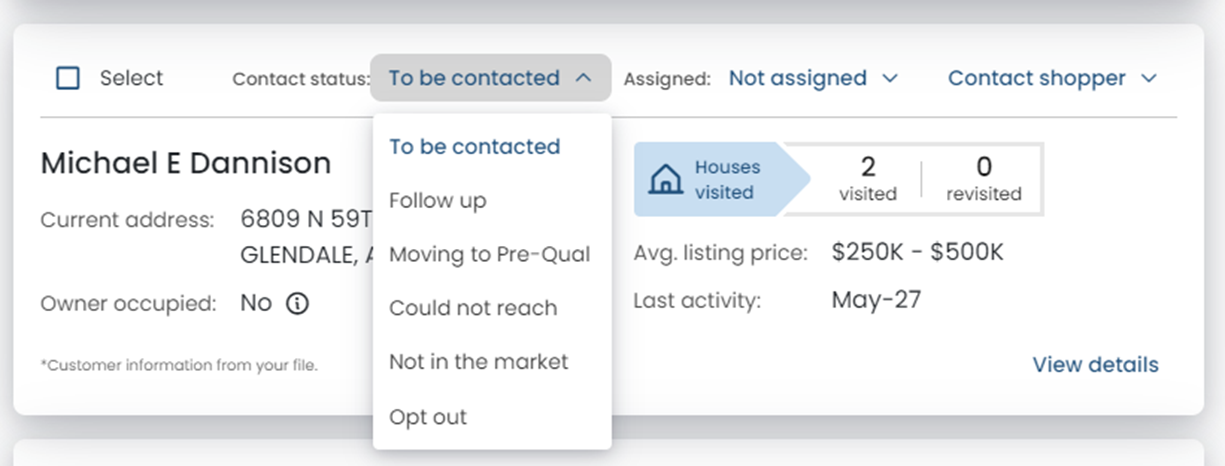
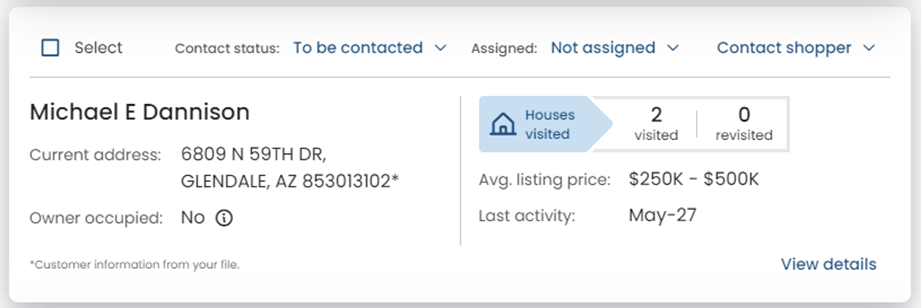
10 | Update Customer’s Status | You can update a customer’s contact status in their shopper card to inform colleagues when a shopper’s contact status changes. |
 | ||
11 | Assign Leads | You can also assign a home shopper to your colleagues by clicking next to the “assigned” button. This helps manage and prioritize leads of active shoppers. |
 | ||
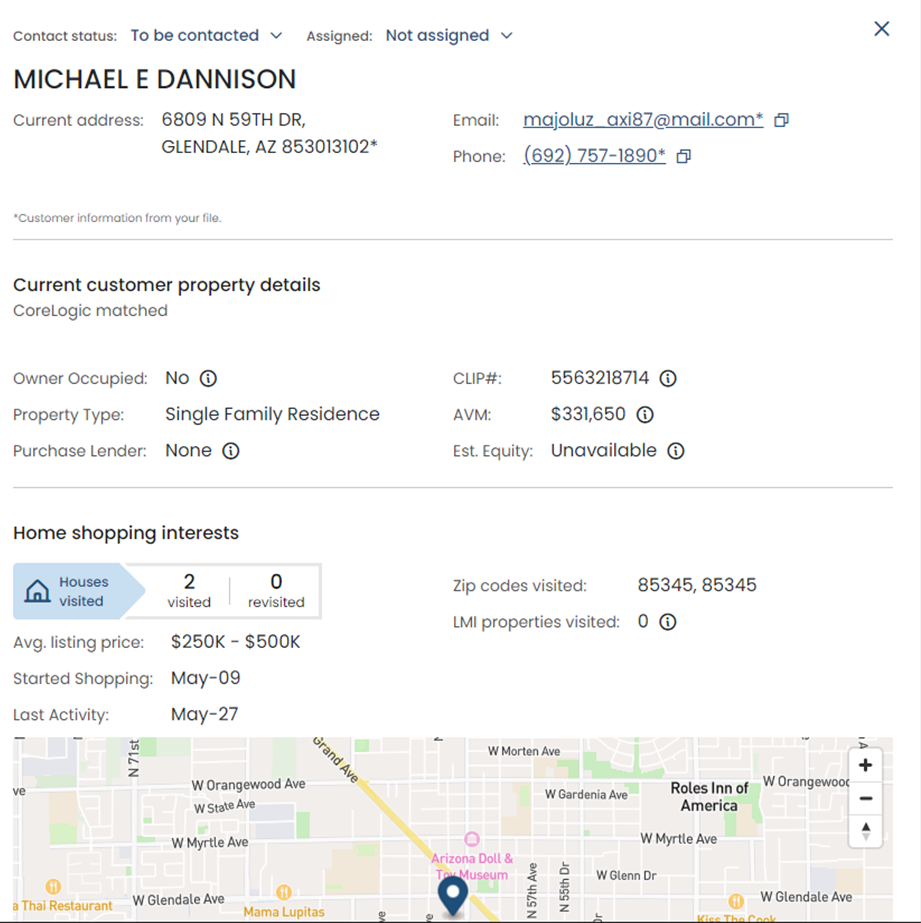
12 | Customer Information | Learn more about your active home shoppers by selecting the “view details” button on a specific shopper card. This will reveal additional information such as:
You can also learn when this customer began shopping for a home, when this customer most recently visited a home listed for sale, and where this customer is shopping for homes. |
  | ||
13 | Export your list of Active Shoppers | You can export your list of active shoppers by clicking “More options” and then selecting “Export all shoppers”. This will download a CSV file with the information of all active home shoppers. |
 | ||
Ready to get started? Click here.
